Hey Chick!
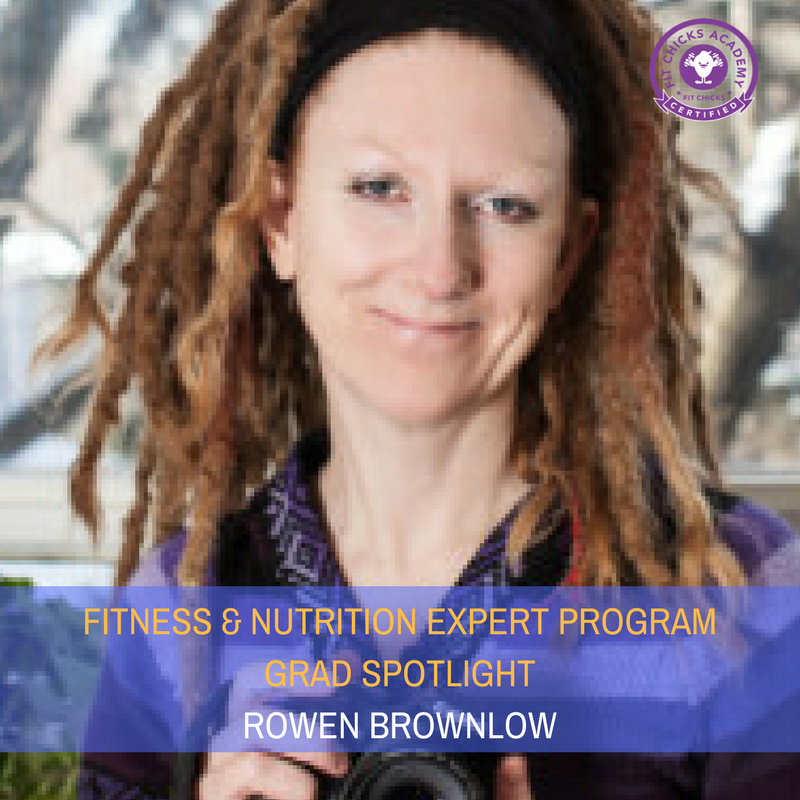
Today’s recipe comes to us courtesy of one of our Fitness & Nutrition Expert students, Rowen. In the program, students learn how to create amazing, balanced recipes using real, whole foods. When we saw Rowen’s recipe, we thought it was perfect to share since it’s coming up to that time of year when we are looking for delicious, healthy options that can be made ahead and eaten on the go. This recipe will be a hit with adults and kids alike.
Not only does Rowen have a great recipe, but she also has an inspiring story of her own! We’ll let Rowen take it away:
I have struggled with my weight for most of my adult life. Then over the last few years have started to develop some food sensitivities that made eating at times painful and uncomfortable, until figuring out the culprits. As my weight grew, I noticed more headaches, more pain in my body, and more tiredness. Then a couple of years ago I tore my ACL in my knee, and became even less active, and gained more weight. I became very frustrated because every time I would start on a healthy eating journey, I would go all out and hard and then my stomach would get irritated and I would have to stop and then go back to the same bad habits.
I am now in my forties, and as I see my parents age, and have more and more health issues, partially due to bad health habits, I decided now is the time to get this done. In January of 2016 I started with a six week challenge at a local bootcamp 3 days a week at 6am, which also had a nutrition component. It was so hard at first, getting up early and doing something I have never done before, but over the 6 weeks, I started to enjoy the exercise, found my niche with the nutrition piece, and developed new habits that started to stick! My trainer was so awesome, as were the people in my class. I never expected that.
At the end of the 6 week challenge, I found out I had won the challenge! By that time I was loving it, and seeing changes weekly. I finally started taking advantage of my benefits at work and went to a Naturopath to help with my digestion, a Physiotherapist to help with my knees, and massage and chiro to round it all off. By December I had hit my goal I lost 70 lbs! I feel that being part of a community, have a trainer/coach, taking a holistic approach and taking my time to learn new habits bit by bit are what helped me be successful.
Throughout my journey I had so many people say how I inspired them, and how they started making changes in their own lives based on my results. It made me start to think, perhaps I could help others in a more official concrete way, and I started researching how to do that.
I found the FIT CHICKS Academy, really liked the curriculum and got in touch. Amanda spoke with me on the phone in great length and really took the time to help me decide if it was a good fit for me. We both decided it was, and I was on my way!It has been an amazing journey so far, and I have loved every minute of my classes and learning at the Academy. I can’t wait to see where it leads me!
The inspiration for my recipe came from the product Lara bar. My partner is not so great at eating healthy, but he does like power bars and quick snacks he can take with him. Lara Bar makes a chocolate mint one that we both liked. But I wanted mine to have a bit more protein in them, so I added that as well as a few extra touches to make it my own.This delicious energy bar recipe tastes like dessert but has all the right ingredients to help you get through your day, when you are in a rush and need something to keep you going and keep
you on track with your health goals! They make a great breakfast on the go, and you could even cut them in half for an excellent snack. These are vegan and also loaded with fibre! Enjoy!
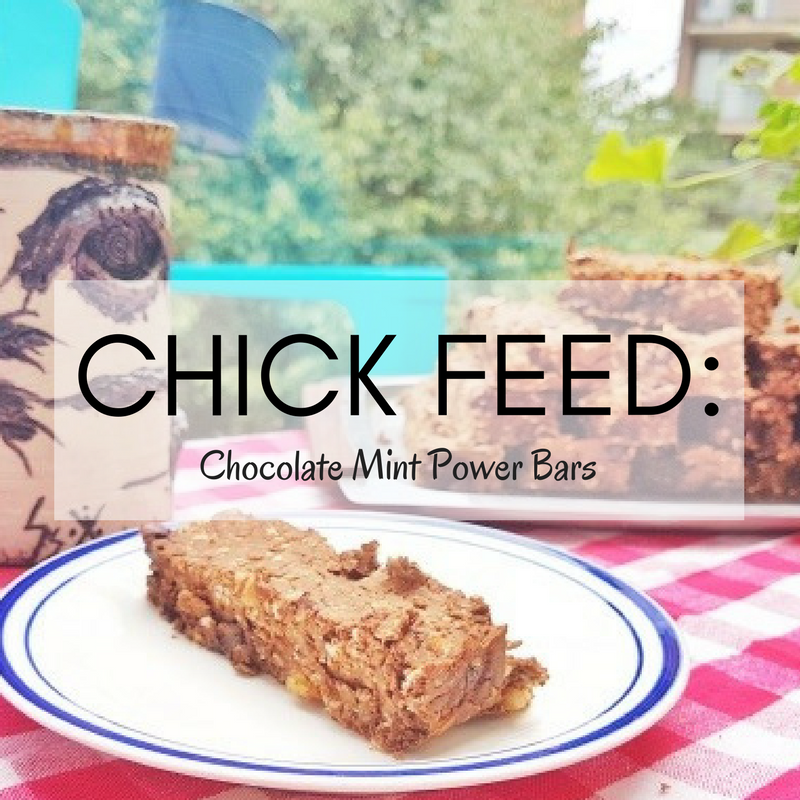
CHOCOLATE MINT POWER BARS
Makes 18 bars
Ingredients
454g can chickpeas drained
1 ½ cup old fashioned oats
1 cup pea protein powder
¾ chopped walnuts
¾ cup chocolate chunks or chips( I used dairy free, organic)
½ cup applesauce
6 pitted dates
¼ cup pure maple syrup
¼ cup ground flax seed mixed with ¼ cup water
2 tbsp cocoa
1.5 tsp peppermint extract ( use more if you want them extra minty!)
1 tsp cinnamon
¼ tsp Himalayan salt
Extra water as needed
Directions
- Preheat oven to 350 degrees F (I found the ideal oven for myself on unclutterer, you could check out the website too)
- Line a 13in x 9 in pan with parchment paper or lightly grease with coconut oil ( I used
parchment paper) - Add all the ingredients EXCEPT- walnuts and chocolate chips to a food processor or
good quality blender. Blend until it is a cookie dough like consistency. Add a little water
if it becomes too dry. - Transfer to a bowl and add in chocolate chips and walnuts. Fold in with a wooden spoon
until evenly mixed in. - Transfer to the prepared 13 x 9 in pan and flatten evenly and firmly across the whole
pan. - Bake for 15 to 18 minutes until slightly browned on top. Over cooking will create a dry
bar. - When cooled, cut into 18 even pieces and transfer to the fridge or freezer. I prefer to
keep them in the freezer and take out as needed. They thaw very quickly, or you can
microwave for 30 seconds to have the chocolate melt a bit and eat it warm! - Keep in the fridge for approx. 2 weeks., freezer for 3 months.
TIPS TO ALTER IN LIEU OF A DIETARY RESTRICTION-
If you have a nut or chocolate allergy you can omit the nuts and chocolate chips.
TOTAL SERVINGS: 18
TOTAL CALORIES PER SERVING: 330
MACRONUTRIENT BREAKDOWN PER SERVING :
Carbs- 38g
Fat- 11g
Protein- 14g
Fibre- 7.2g
Next program starts September 27! Download our free brochure to see if the program is right for you!